If you’re looking to switch up your hairstyle without committing to a dramatic change, lowlights might be the perfect solution. Whether you’re a seasoned professional stylist or a curious newbie, this article will guide you through the art of adding depth, dimension and a touch of mystery to your locks using lowlights. Get ready to discover the secrets of achieving stunning lowlights and unleashing a whole new level of sophistication for your hair. So, grab your trusted professional hair color products and let’s dive into the world of lowlights!
1. Understand the Basics
Before we explore the intricacies of the lowlighting process, let’s start with the fundamentals. Lowlights are a hair coloring technique that adds depth, dimension and richness to your hair. Unlike highlights that involve lightening select strands, lowlights introduce shades that are a notch or two darker than your base color.
The result?
A beautifully balanced and natural-looking contrast that adds movement and vitality to your client’s locks.
2. Gather Essential Tools and Products
To achieve flawless lowlights, you will need to have a toolkit that is well-equipped with the following essential items:
Professional Hair Color: The foundation of any successful lowlighting endeavor is high-quality, professional hair color. Investing in a premium product ensures consistent results and minimizes potential damage to your precious tresses.
Hair Lightening Products: If your client’s lowlighting adventure involves lightening their hair before applying the darker shades, select hair lightening products that are tailored to your client’s hair type and specific needs.
Applicator Brush: A fine-tipped applicator brush is an indispensable tool for achieving precision and control during lowlighting.
Sectioning Clips: Keep your client’s mane neat with the help of sectioning clips to ensure you can work on one area at a time for even coverage.
Gloves: Don’t forget to protect your hands and nails from potential color stains by wearing disposable gloves.
Plastic Mixing Bowl: Choose a non-reactive mixing bowl to prepare your hair color mixture.
Foils or Plastic Wrap: These come in handy for processing the lowlighted sections and preventing color transfer to adjacent strands.
When working on your client’s hair, understanding the desired outcome is important. Discuss the ideal lowlight shade, consider the base color and explore the overall look they hope to achieve.
Prepare Your Workstation
Set the stage for success by creating a clean, well-lit workspace. Having all your tools and products within arm’s reach will streamline the process and enhance efficiency.
Blend the lowlight color in your plastic mixing bowl according to the precise instructions provided with your chosen hair color. Remember to wear your gloves to prevent unsightly staining.
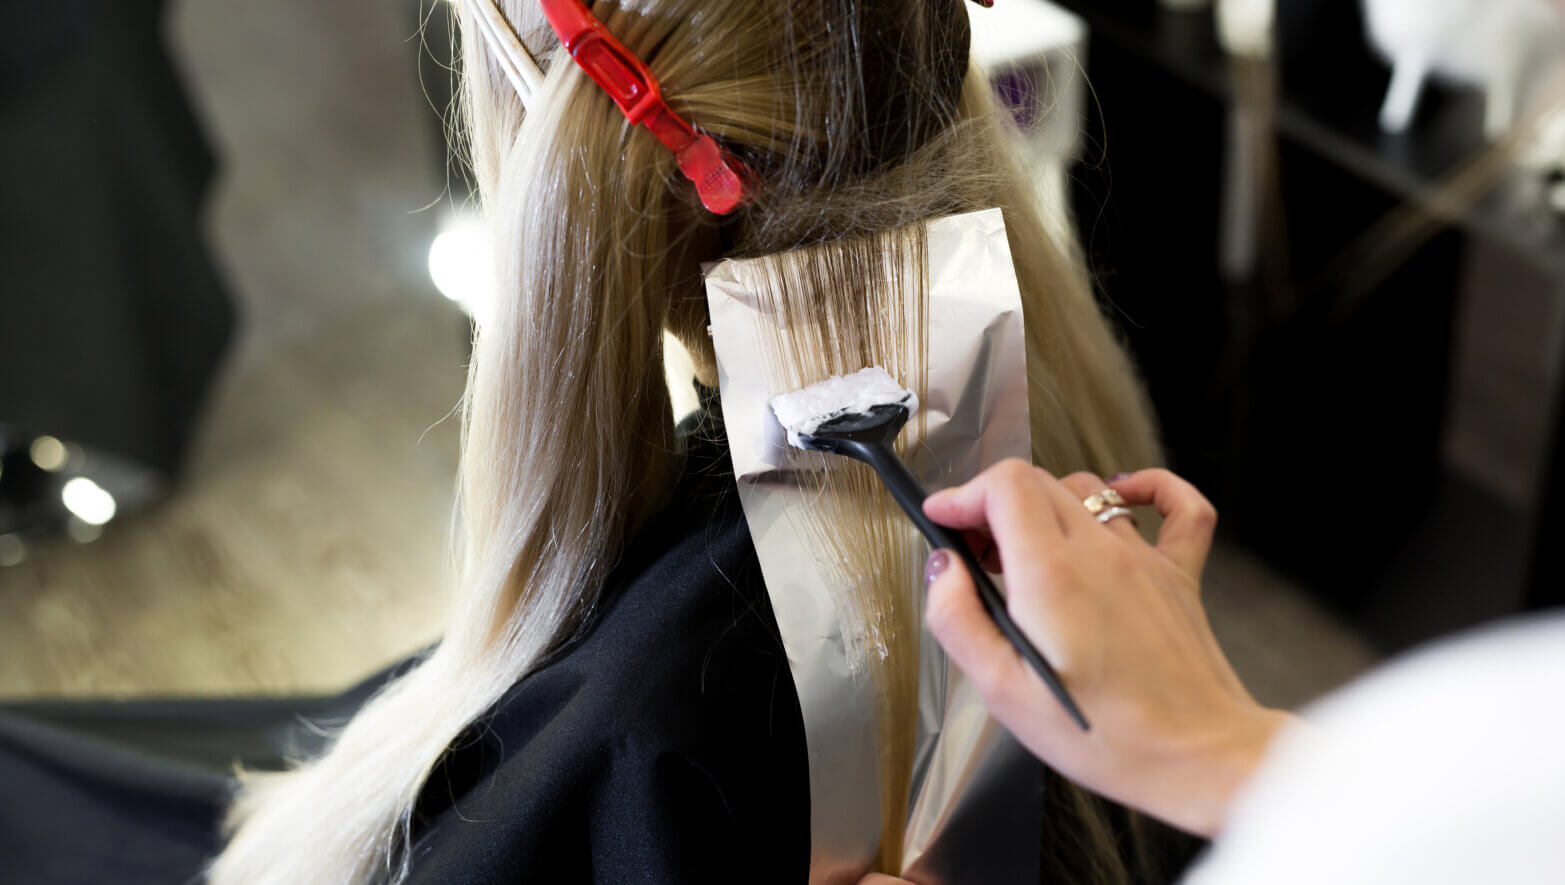
Precise Application
This is where precision and steady hands shine. Use the fine-tipped applicator brush to paint the lowlight color onto the pre-selected sections. Pay close attention to feathering the color at the roots for a seamless and natural-looking transition.
Wrap and Isolate
After applying the hair color, it’s time to wrap up those sections. Use foils or plastic wrap to keep the colored areas away from the rest of your hair. This also helps the color process.
Processing Time
Follow the recommended processing time, which typically ranges from 20 to 45 minutes. This time allows the magic to happen, so be patient and let the color work its wonders.
Rinse and Rejuvenate
When the processing time has elapsed, rinse your client’s hair thoroughly with cool to lukewarm water until it runs clear. Follow up with a nourishing deep conditioner for luscious locks that will turn heads for all the right reasons.
Now that you’ve mastered the basics, here are a few more expert tips for doing lowlights:
4. Select the Right Shade
When choosing your lowlight shade, consider your client’s skin tone and natural hair color. Cool-toned lowlights complement cool skin tones, while warm-toned lowlights harmonize with warm complexions.
5. Place Lowlights Strategically
Think about where your client wants the lowlights. Face-framing lowlights can accentuate your features while scattering them offers a subtle all-over effect.
@naomis_hair_salon via Instagram powered by Squarelovin
6. Ensure Seamless Blending
Achieve a natural transition by seamlessly blending the lowlights into the base color. Avoid harsh lines and stark contrasts.
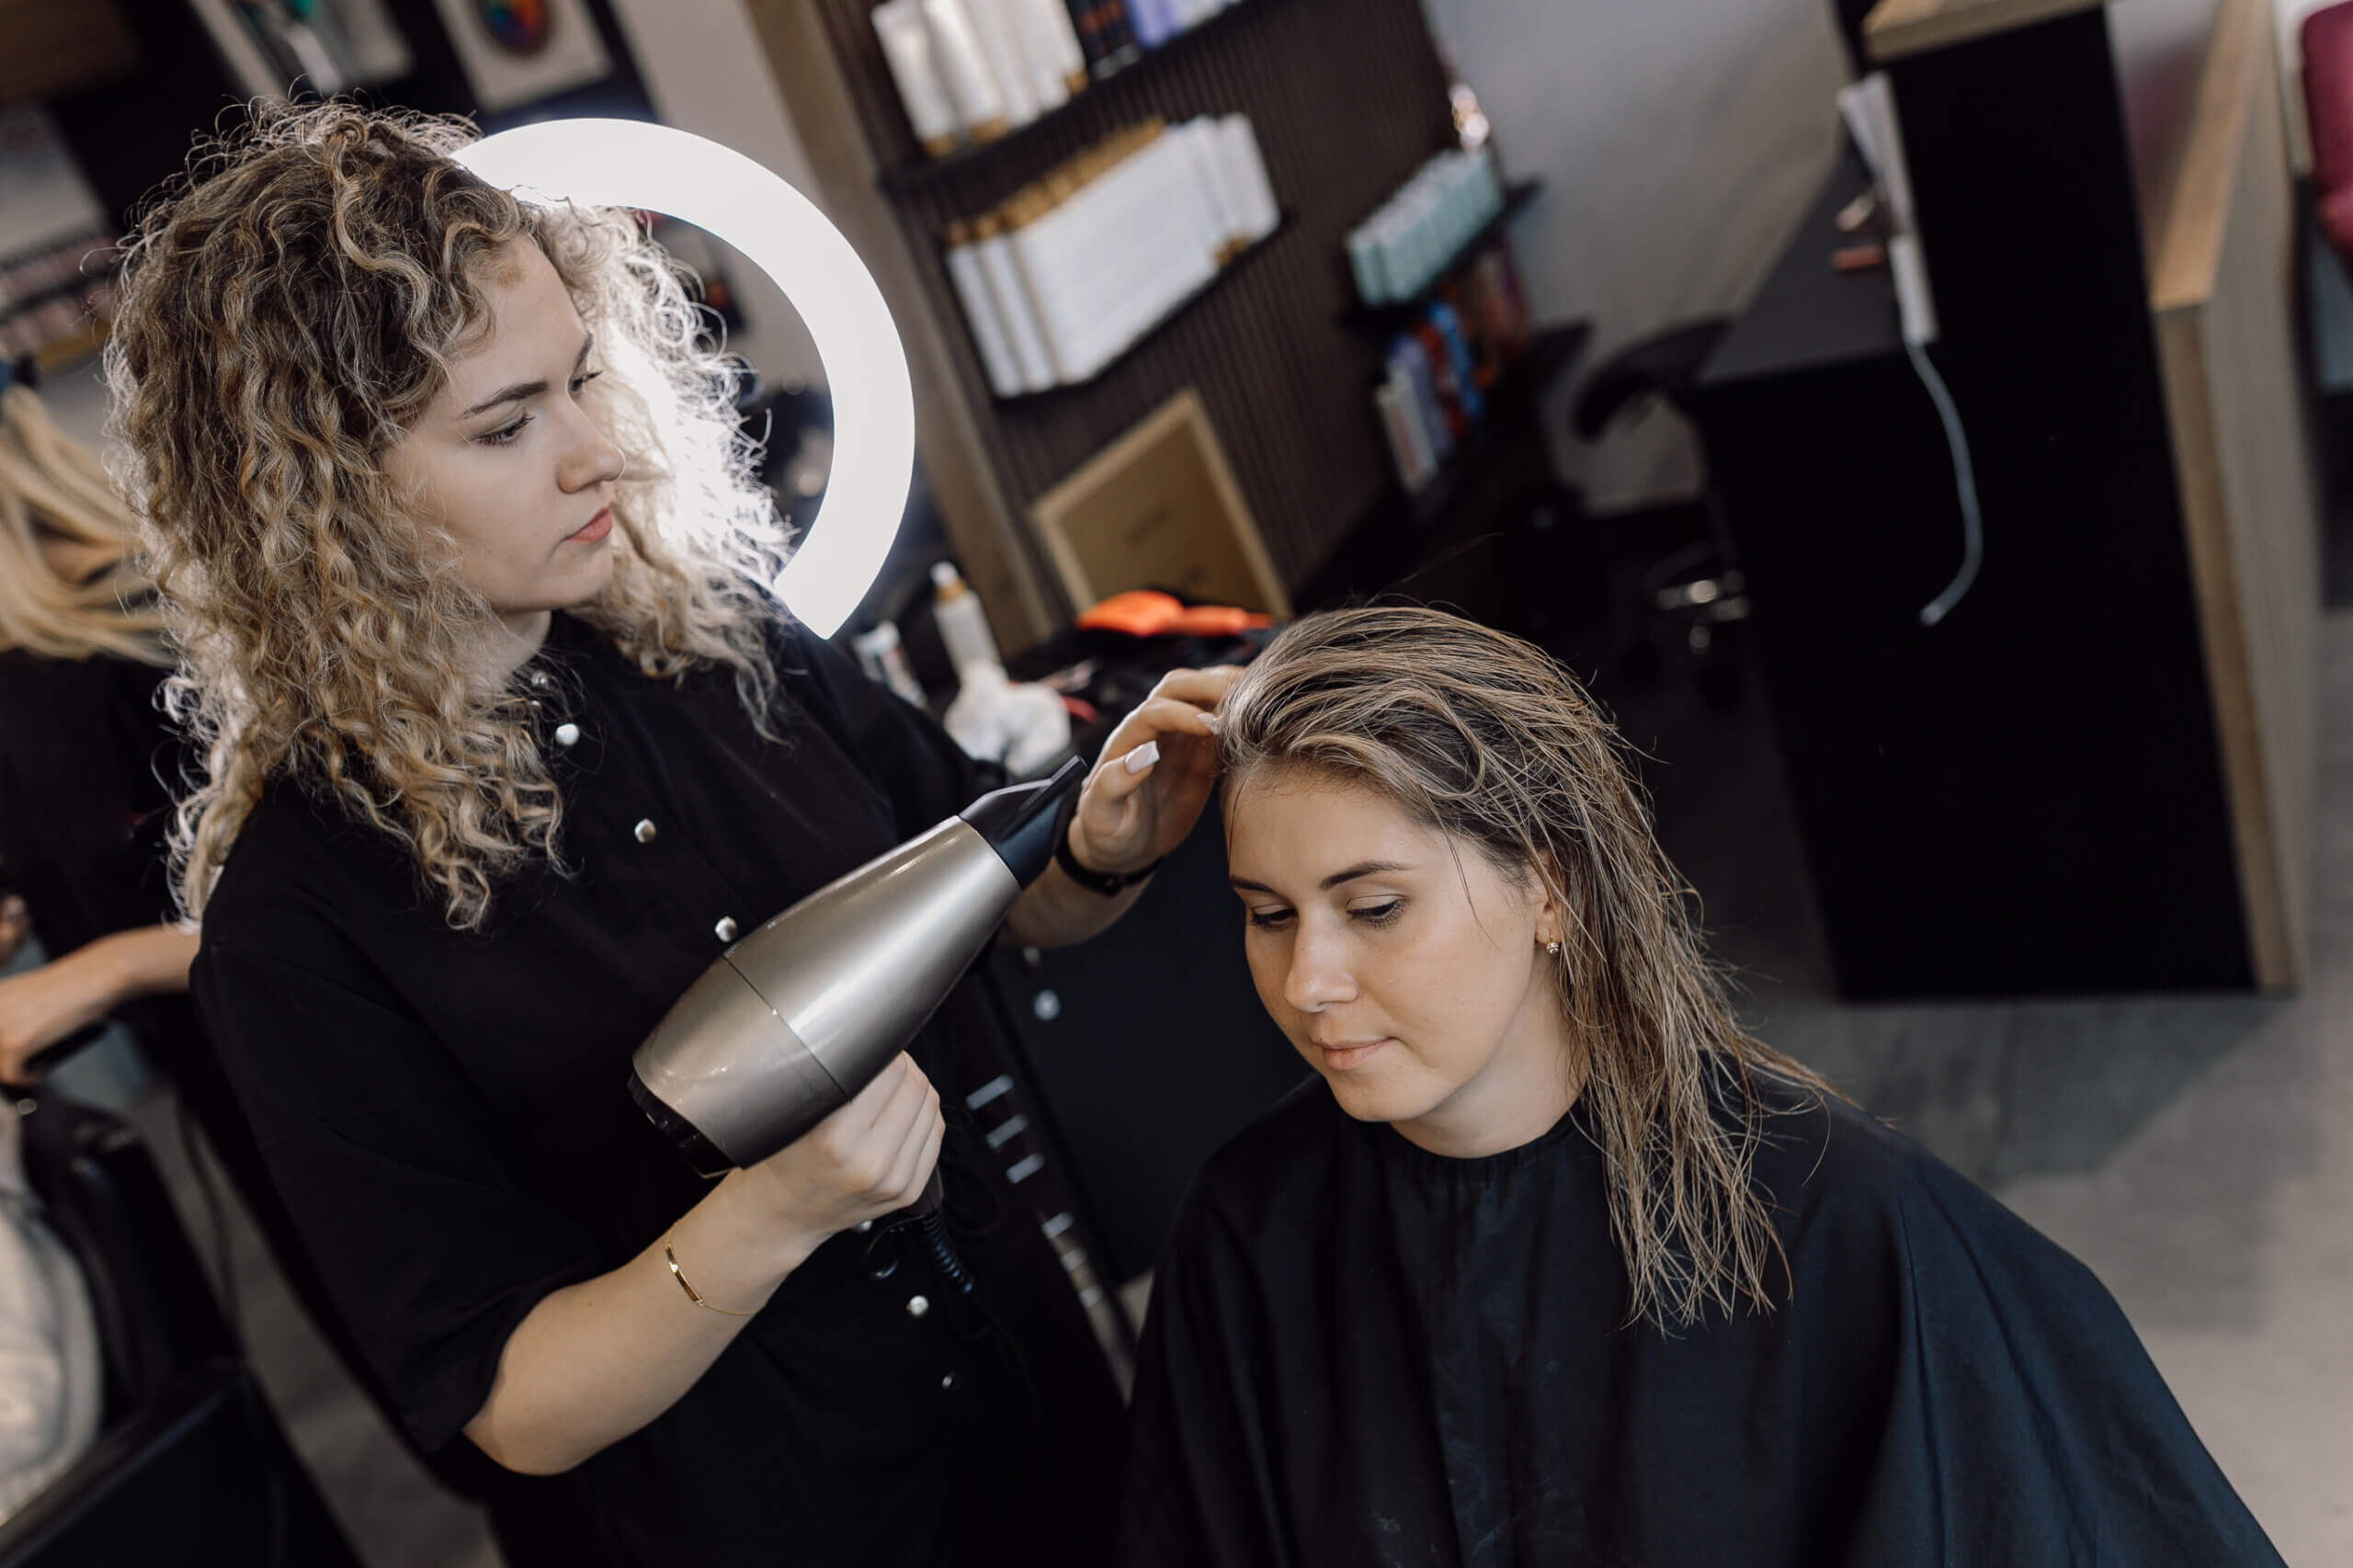
7. Prioritize Hair Health
Healthy hair holds color better. Maintain your client’s locks by using quality hair care products and minimizing heat styling.
8. Schedule Regular Trims and Touch-Ups
Keep in mind that lowlights, like any color treatment, require maintenance. Suggest to your client that they schedule touch-ups as needed to keep their look fresh.
Choose Lowlights for a Subtle Yet Striking Look
Congratulations! Armed with these expert tips and the right tools and products, you’re ready to try your hand at mastering the art of lowlights. Embrace the process of enhancing your client’s hair’s depth, dimension and allure with the enchanting magic of lowlights.


Share Your Feedback