Highlights are one of the most popular hair coloring techniques that have evolved over the years but never go out of style. The ability to make highlights more subtle or bold, as well as make them work for every kind of hair color and texture, makes this one of the most versatile and popular hair trends to date.
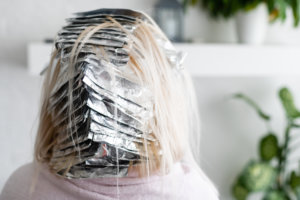
Highlights are usually achieved by sectioning off thin and small sections of hair, painting them with lightener and then wrapping them in foils to let them process. The desired color and effect depends largely on the pattern of the foils and the amount of time the color spends on the hair.
Using foil is an extremely efficient way to apply professional hair lightener and achieve highlights because the foils conduct heat and allow the bleach to penetrate the hair for a more noticeable and dramatic lift. And, of course, when you’re bleaching a specific strand of hair, you want to make sure it stays separate from the unbleached hair and foils act as the perfect barrier.
But with so many different methods and styles of highlights, how do you know which foil placement or method is best? It all depends on your client’s wishes, paired with your expertise.
Foil Techniques for Highlights
Within the different foil placements, there are two particular techniques that most hairstylists use, depending on the client’s goals for their hair. While a professional result starts with professional color, your technique matters, too. Whether you’re using PRAVANA hair products, Schwarzkopf coloring or another professional hair care brand, the following methods will help ensure that your client’s hair looks flawless.
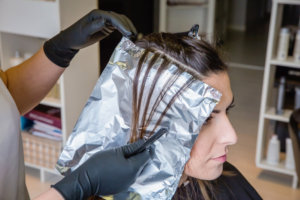
- Weaving — Weaving is the most popular method and technique for foil wrapping highlights. It is achieved by parting very fine selections of hair and weaving the tail of a comb through the section in an in-and-out pattern. Separate the hair you have weaved and then apply bleach or color to the hair and wrap it in foil.
- Slicing — While weaving can be a tedious and slow-moving process, slicing has become popular because it’s a rather quick method that allows stylists to pick up hair faster. To achieve the slice effect, part sections up to three inches while keeping the slices very thin. Then, place the strands onto the foil and brush the bleach or color on.
Foil Placements for Highlights
Each foil placement method and pattern offers a unique style. Depending on the kinds of highlights your client wants, you will find the desired style in one of these foil methods.
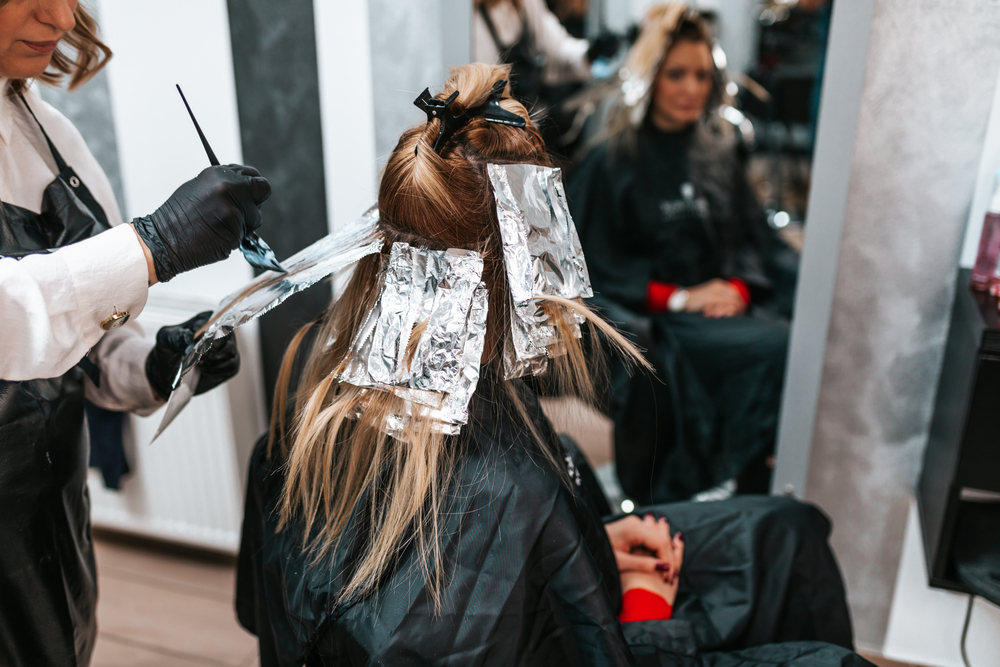
- Horizontal Weave Foil Method — When creating highlights, you’re probably used to the horizontal foil weave method, which is the most commonly used technique. When bleaching hair using this method, take quarter-inch sections of hair while weaving in a tiny portion of hair from the top section and then apply bleach to the selected section and foil wrap. Because this technique involves weaving hair from other sections, the client will end up with highlights that look natural and blended.
- Bricklaying — If you are weaving in multiple colors along with highlights, you may want to try a bricklaying method, which is different from the usual angling placement you may see. With bricklaying, you will section the hair into four to five sections and then alternate from three foils in a row to two foils in the next row and repeat this placement throughout.
- Diagonal Slice Foil Method — When using the diagonal slice foil method, you’re going to achieve a two-dimensional effect. Try this method by sectioning off eighth-inch slices diagonally and away from the face. This foil style can also be used to give your client that “lived-in” look by adding lowlights in between the highlights and starting the foils an inch away from the root. If you want a more dramatic two-dimensional look, you can place the diagonal foils going toward the face.
- Vertical Slice Foil Method —If your client wants bold highlights, vertical slicing is not only going to lighten the overall look quite a bit, but it will also help you achieve a dramatic two-toned effect. For heavy or bold highlights or lowlights, you will want to take quarter-inch sections vertically around the entire head. Once you have your sections, each one is split into two and a half and then you can apply the bleach or color onto the hair and foil. To create more dimension, add a second color to the section of the hair you didn’t bleach.
No matter what your next client comes to you with, we know you will be able to master these highlighting techniques and placements for a hairstyle that stuns.


Share Your Feedback