Liliia Kanunnikova/Dreamstime.com
Mastering the art of balayage is essential for creating stunning, natural-looking highlights that your clients will adore. Caramel balayage, in particular, has become increasingly popular due to its warm, sun-kissed appearance that complements most skin tones and hair colors. This technique requires skill, precision and a deep understanding of professional hair color application. Let’s explore the steps to achieve beautiful caramel balayage highlights for your clients.
What Is Caramel Balayage?
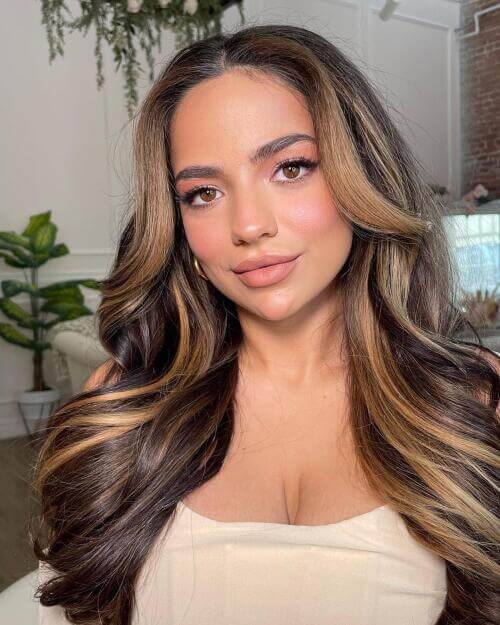
Balayage comes from a French word meaning “to sweep,” and it is a freehand highlighting technique that creates a natural, graduated color effect. Caramel balayage specifically refers to the use of warm, golden-brown tones reminiscent of caramel. This style features a seamless blend of lighter and darker shades that create a natural-looking, multi-dimensional effect.
The Consultation Process
Before you begin the application process, a thorough consultation with your client is crucial to set the foundation for a successful caramel balayage service. It also ensures you and your client are on the same page regarding the desired outcome.
Discuss your client’s hair history, including any previous color treatments or chemical processes, during the consultation. Assess their natural hair color, texture and condition to determine the best approach for achieving the look they crave. Manage expectations by showing examples of caramel balayage on similar hair types and explaining the maintenance required to keep the look fresh.
Choosing the Right Products
Selecting the appropriate products is crucial for achieving beautiful caramel balayage highlights. The choice of hair lightener and toner will depend on your client’s base color and the desired level of lift.
Darker bases may require a higher volume hair color developer to achieve the desired caramel shade. However, be careful to avoid overprocessing the hair, as this can cause damage and unwanted brassiness. For lighter bases, a lower-volume developer may suffice.
When choosing a toner, stick with warm, golden shades to create the signature caramel look. Consider using a combination of toners to achieve a multi-dimensional effect that mimics natural sun-kissed highlights.
Preparing the Hair
Before beginning the balayage process, prepare the hair properly. Cleanse with a clarifying shampoo to remove product buildup and excess oils that could interfere with color application. Skip the conditioner, as it can create a barrier that prevents color from effectively penetrating the hair shaft.
Carefully detangle your client’s hair using a wide-tooth comb once it is clean and towel-dried. Section the hair into four quadrants, securing each section with clips.
The Balayage Application Technique

Nicoleta Ionescu/Dreamstime.com
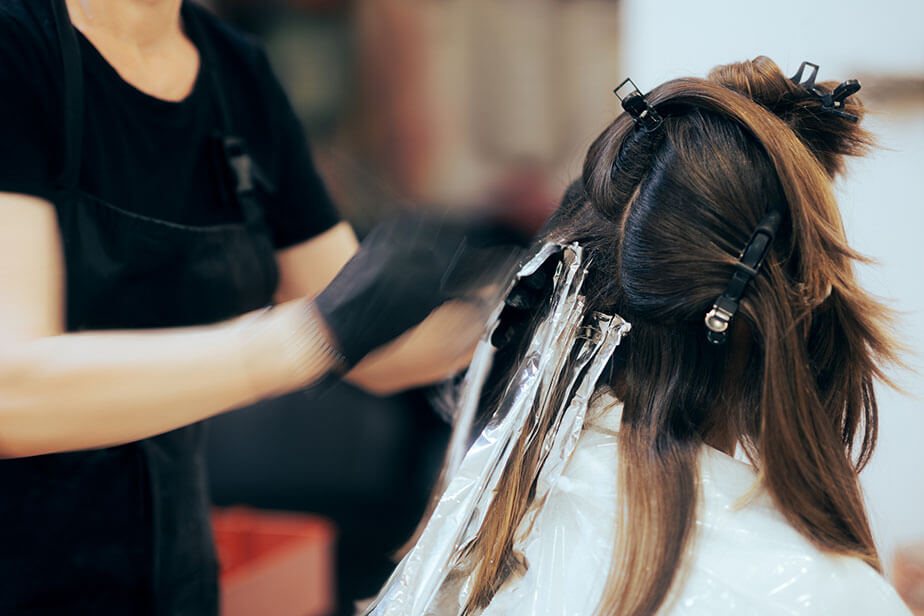
Unlike traditional foil highlights, balayage requires a freehand approach that allows for a more organic, graduated effect.
Start by mixing your chosen lightener according to the manufacturer’s instructions. Remember that the consistency of your lightener mixture can affect the final result, so aim for a creamy texture that’s easy to apply but won’t drip or run.
Begin the application process at the back of the head, taking thin sections of hair and applying the lightener in a sweeping motion. Start a few inches from the roots and increase pressure as you move toward the ends to create the signature balayage effect of darker roots transitioning into lighter ends.
Vary the placement and thickness of your highlights to create a natural, sun-kissed look. Focus on areas where the sun would naturally lighten the hair, such as around the face and the top layers.
Processing and Monitoring
Once you’ve applied the lightener, let the hair process. Processing times vary depending on the client’s starting color and desired lift level. Follow the manufacturer’s instructions and monitor the hair closely during this stage to prevent overprocessing.
Check the hair every five to 10 minutes, wiping away a small amount of lightener to assess the level of lift. The hair will appear slightly lighter once it’s dried, so it’s better to err on the side of caution and rinse slightly earlier if you’re unsure.
Rinsing and Toning
When you’ve achieved the desired level of lift, rinse the hair with cool water until it runs clear. Gently shampoo the hair to remove any remaining lightener, being careful not to overmanipulate the lightened sections.
Next, apply toner to enhance caramel tones and neutralize unwanted brassiness. Toning is crucial for achieving the perfect caramel shade and ensuring a seamless blend between the highlights and the base color.
Finishing Touches
After rinsing out the toner, apply a deep conditioning treatment to replenish moisture and improve the hair’s overall health. Rinse with cool water to lock the color in and seal the cuticle.
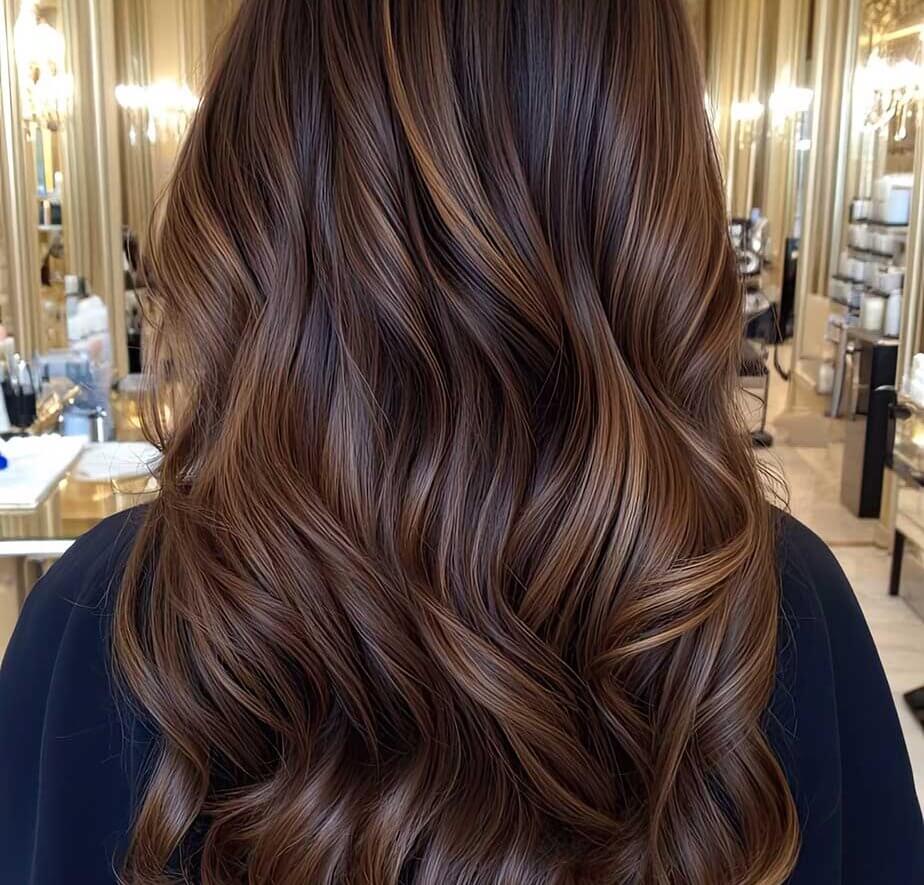
Gently towel dry your client’s hair and apply a heat protectant before styling. Consider using a curling wand to create soft waves that show off your client’s new caramel balayage highlights.
Conclusion

@sexyhair via Instagram powered by Squarelovin
Mastering the art of caramel balayage highlights requires a combination of skill, artistic vision and a deep understanding of hair color theory. By following the steps outlined in this guide and continually refining your technique, you can create stunning, natural-looking caramel balayage highlights that your clients will love.


Share Your Feedback