Source: Artem Zakharov | Dreamstime.com
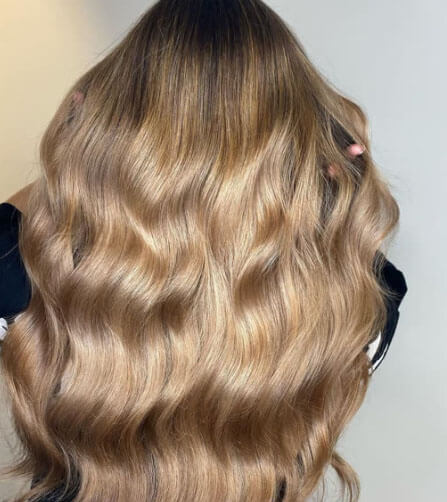
The sun-kissed glow of balayage is a timeless trend. Unlike traditional highlights, balayage creates a natural, dimensional look with seamless transitions between light and dark. But achieving that effortless, lived-in color requires more than one would think. Professional hair color application and strategic highlight placement are fundamental for a flawless balayage. In this blog post, we’re sharing six expert tips that will turn you into a balayage pro!
1. Consultation Is Key
Before diving headfirst into the world of balayage, a thorough consultation with your client is crucial. During the consultation, discuss their desired level of lightness. Consider factors like their hair history, lifestyle habits that can impact color (frequent heat styling, chlorine exposure, etc.) and their natural base color.
Now is also the time to perform a hair analysis to assess porosity and texture. This information is crucial for choosing the appropriate lightening technique and products to achieve your client’s desired outcome with minimal damage using an appropriate professional hair lightener.
2. Section for Strategic Placement
Flawless balayage hinges on strategic sectioning. It ensures even lightener application and desired effects. Different techniques suit varying hair lengths and densities. Slices (vertical sections) are common, while intricate placements benefit from herringbone sections (diagonal subsections for more control). Client goals dictate the approach. Face-framing highlights require sections around the face for brightening, while concentrated lightening toward the ends necessitates sections reflecting that. Clips are your allies when it comes to maintaining clean sections and preventing product bleed.
Source: Sidelnikov | Dreamstime.com
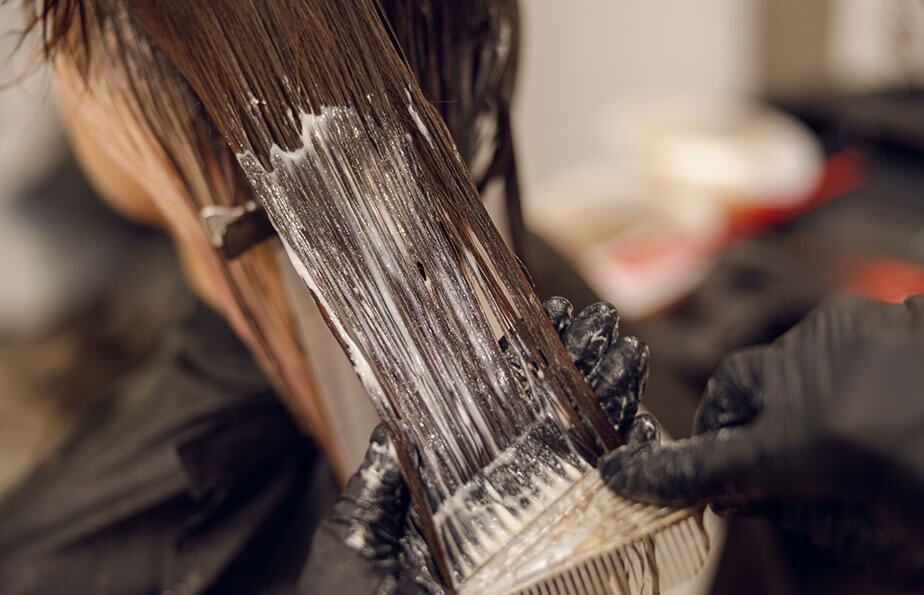
3. Master the Art of Blending
The magic of balayage lies in seamless color blending to create that natural, dimensional look. Achieving this flawless blend requires “feathering” — a skilled application technique that every professional stylist should master. The process involves applying lightener at a steep slant toward the roots. The goal of this technique is to create a soft transition from the client’s natural base color to the lighter hues they desire. This eliminates harsh lines and mimics natural sun-kissed hair.
Tools also play a part. Teasing creates subtle highlights, while a balayage board allows a controlled application, preventing root saturation. Ultimately, a skilled eye for natural-looking color transitions is key to achieving the coveted lived-in balayage look.
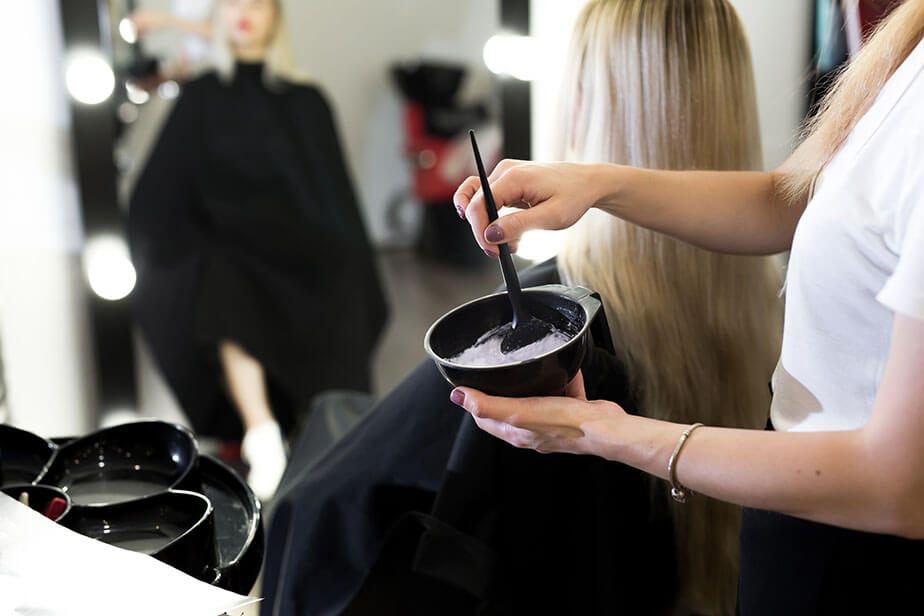
4. Choose the Right Lightener
Lightener selection significantly impacts the balayage outcome, and choosing the right product can even help with placement by ensuring that every highlighted section turns out the desired color. Choose a lightener based on the client’s natural hair color and desired lift. Understanding developer volume is crucial. It refers to the lightener strength, with higher volumes leading to stronger lightening. A natural wanting subtle highlights might require a lower developer volume than someone with dark brown hair seeking a dramatic effect. Remember — professional lightener formulas deliver predictable results with minimal damage. High-quality lighteners often contain nourishing ingredients to mitigate the lightening process.
5. Don’t Forget the Money Piece
The money piece is a strategic lightening technique that deserves special attention during balayage placement. It’s a face-framing section that can truly elevate a client’s look by adding brightness and enhancing their features.
However, to achieve a natural and flattering result, forget about a blunt stripe of color. Instead, take a more nuanced approach. Follow the client’s natural hairline for a seamless blend, but don’t be afraid to introduce a touch of artistry. A slight diagonal highlight as you move up toward the temple adds subtle yet impactful contrast. This technique works beautifully on its own or layered with other balayage highlights.
For extra brightness and dimension, consider incorporating babylights around the money piece. Use foils for precise application in these delicate sections to ensure a flawless lightening effect that flatters the face and complements the overall balayage look.
6. Consider Your Client’s Hair Texture
Your expertise truly shines in tailoring the technique to the client’s hair texture. For fine hair, a heavy-handed approach can be disastrous, leading to weighed-down strands. Instead, a scattered application with thinner sections and finer strokes throughout the hair is ideal. This creates a beautiful play of light and dimension without sacrificing volume.
On the other hand, coarse hair works with bolder placements. Wider sections and a more concentrated application of lightener will create a striking contrast and prevent the balayage from getting lost in the hair’s natural texture. Don’t shy away from playing with negative space for added depth, especially for clients with very thick hair.
@angeliquehaarenmakeup via Instagram powered by Squarelovin
Take Your Balayage Skills to the Next Level
By following these expert tips, you’ll be well on your way to achieving flawless balayage for your clients. Remember — balayage is an art form. As a skilled stylist, you should be able to tailor the technique to each client’s hair type, desired look and lifestyle. With the tips above and some practice, you can help your clients enjoy the beauty of dimensional, sun-kissed hair.


Share Your Feedback