Bubble braids are having a SERIOUS moment on social media and are sure to be a sought-after look in the festival scene for more reasons than one. No matter the type or length of hair, and no matter the personal style or aesthetic pursuit, bubble braids are sure to pop. That’s because bubble braids can be as cute, as crazy or as killer as desired, but will also easily become a lived-in look that’s perfect for the humid days that accompany the festival season.
And just like a lot of your clients, you should be focused on getting ready for the festival season with fabulous hairstyle trends, too, so explore the look with us!
Perfecting the Bubble Braids Look
Before you begin this style, be sure to comb the hair out and use some product proactively. A combination of a moisturizing spray (especially for curlier hair types) and styling wax will smooth the hair before beginning the styling process and keep baby hairs and flyaways tamed. With that said, overly sleek, soft and silky hair will create softer bubbles, so you should also consider using professional texture hair products toward the middle and ends of the hair if your desired effect is more drastic! A good method is to use dry shampoo powder between your fingers before tightening/puffing bubbles to give the hair a little more grip.
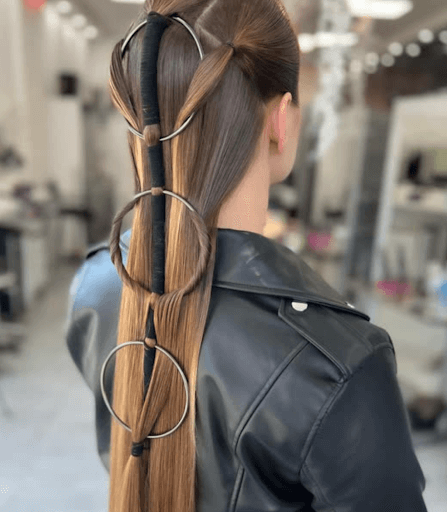
Basic Ponytail Bubble Braid
To create a single, simple bubble braid, start by pulling all of the hair into a ponytail (high or low) and securing it with a hair tie. An inch or two down from the base of the ponytail you’ve just secured, wrap another hair tie to create your first section. You can now gently pull on the section to tighten and puff it up into a bubble, or puff every section once you’re done securing them (when working with curly hair, we suggest creating the bubble shape that you want AND THEN securing it with an elastic so as not to tug on curls). For a full finished look, section off the entire ponytail this way.
If hair ties aren’t a desired part of the overall look, be sure to use clear or hair-color-matching elastics.
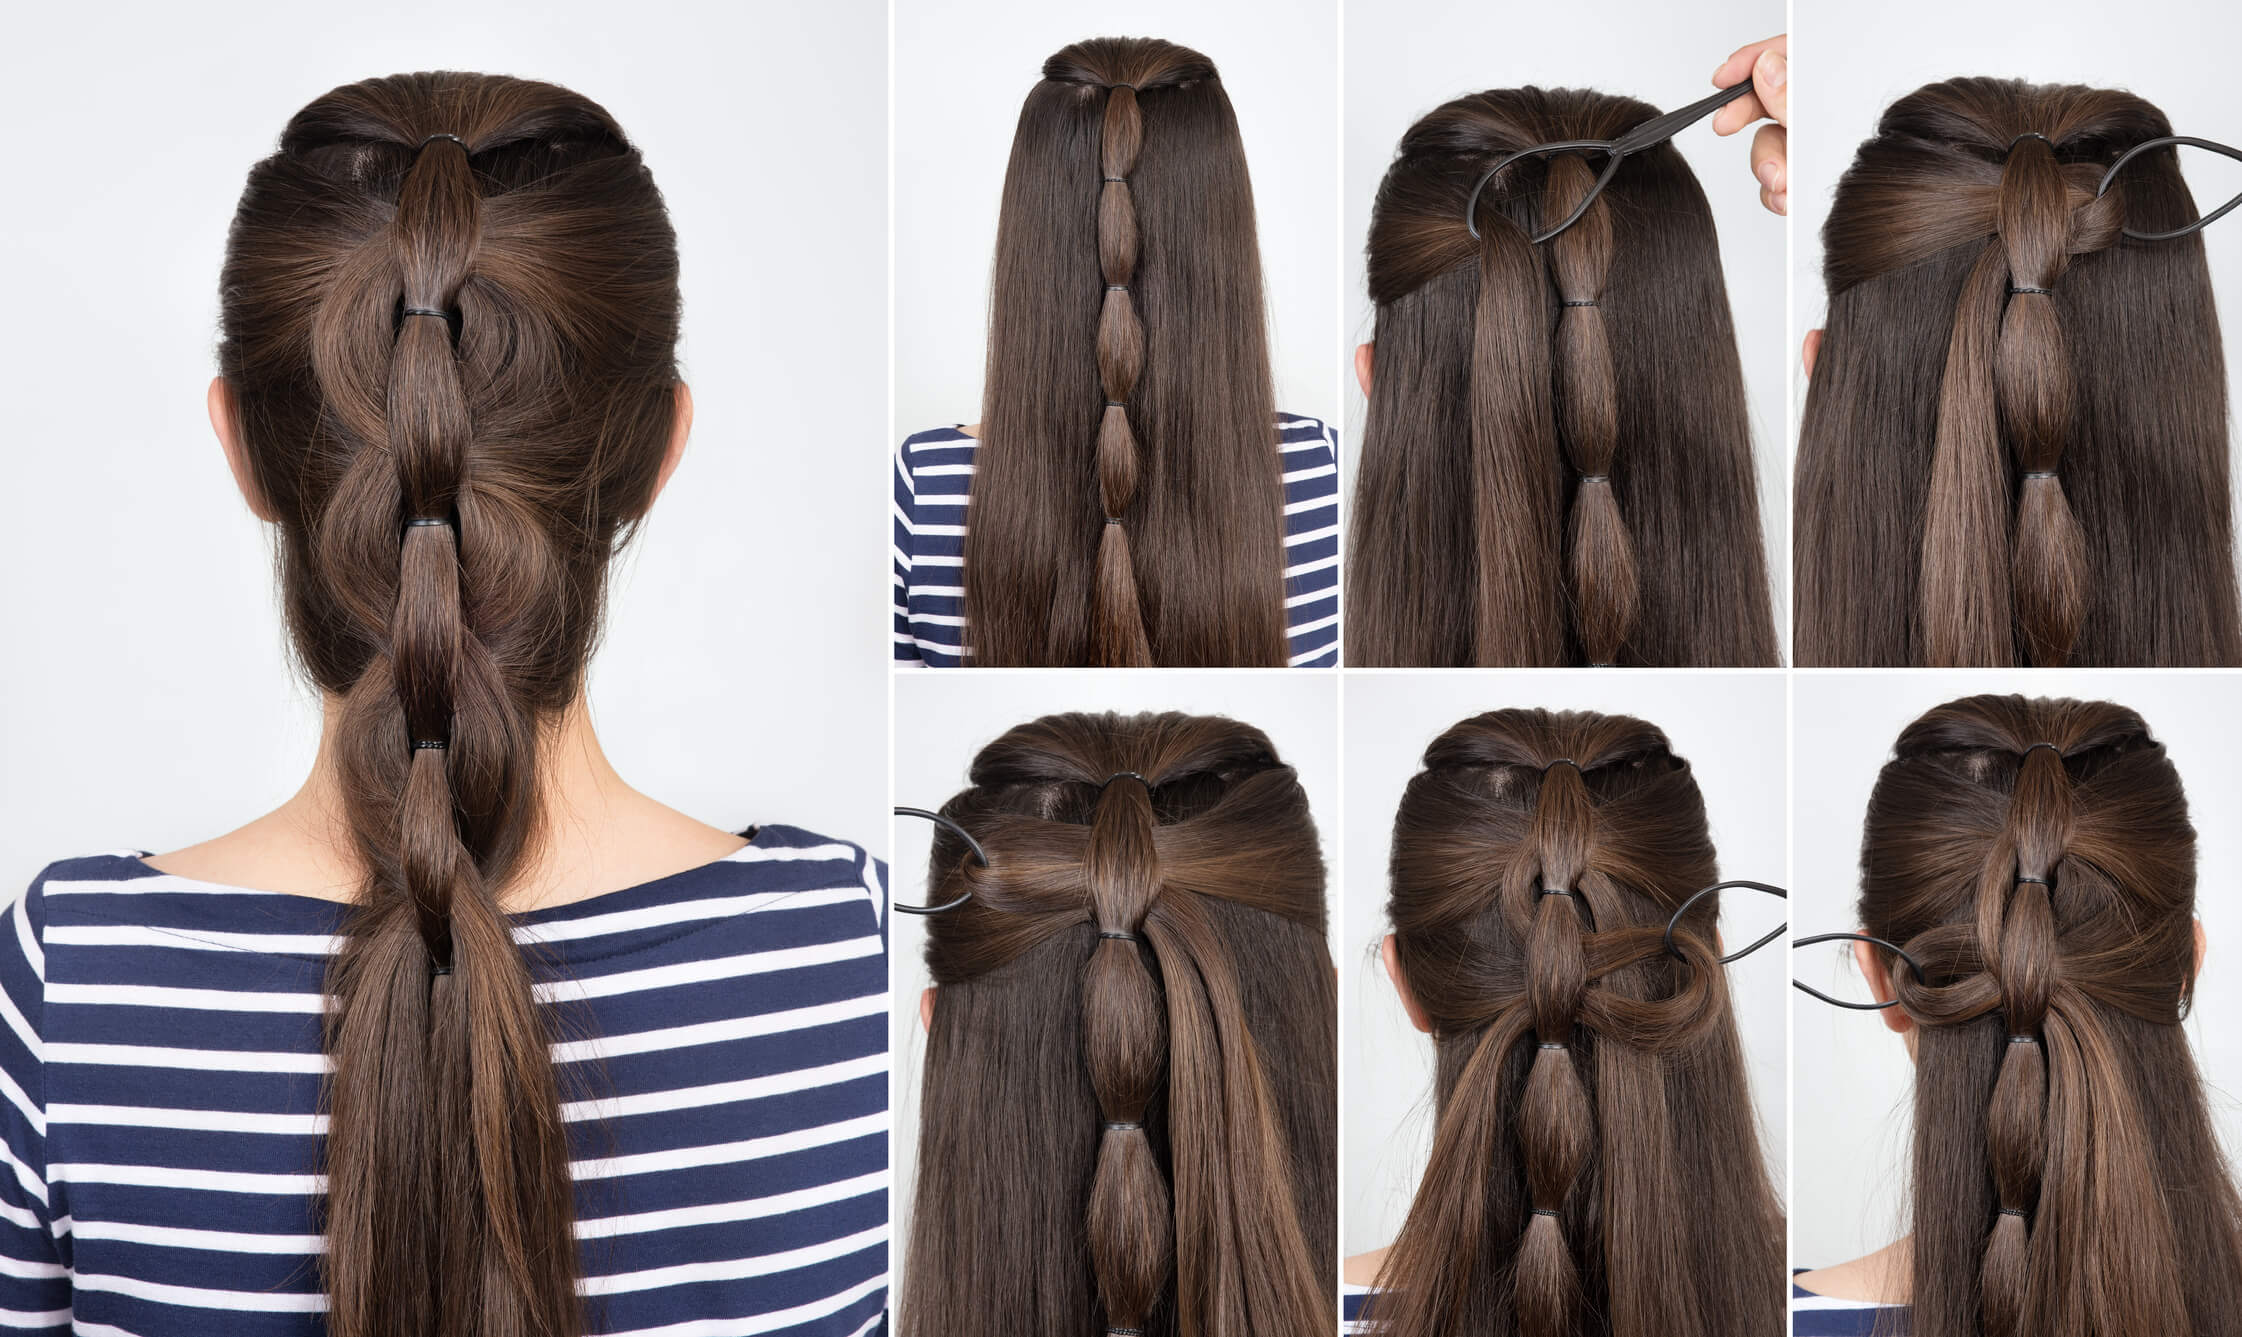
Basic Pigtail Bubble Braids
Here’s where we’ll learn how to attach a bubble braid to the head. To do this, you’ll start by parting the hair down the middle all the way to the base of the neck. On one side, begin by securing the front section of hair at the temple with a hair tie. Move an inch or two down from here, gather the next section of hair and secure with a tie (making sure to include the tail of the first section in it). Repeat this process all the way down the pigtail until all hair on that side is included in the braid. Repeat the process on the other side of the head to create the second pigtail, and keep the bubbles on each side evenly aligned!
Starting from the hairline, gather a one-inch section where the bangs would be and secure tightly with an elastic. From here, simply follow the same steps as the basic pigtail bubble braids above — but only pull from the hair on the top half of the head!
This is a way where even super short hair can achieve an awesome set of bubble braids. But if this is the case, we do suggest puffing sections super gently and placing bubbles so that there’s a smaller distance between hair ties. This will prevent pieces and chunks from falling out. For this same super short hair, be sure to set with professional hair styling products that will hold up and even secure each bubble to the head with a secret bobby pin if the plan is to go hard at the festival!
Bohemian Bubbles
Bohemian bubbles speak to an intricate yet relaxed boho style. To create this look, you’ll want to start off with two basic bubble braids. It’s as you create each bubble, though, that the difference in this bohemian version will become obvious.
Instead of simply spreading each bubble a little bit to puff it up, you’ll want to create a split or opening in each bubble before creating the next. Reaching your fingers through this opening from the back, you’ll pull the entire pigtail through from the front to the back and then tighten it firmly in a downward position — ready for the next bubble to be tied. This will create an intricate twist in the middle of each bubble that will look even more like a braid and even more beautiful!
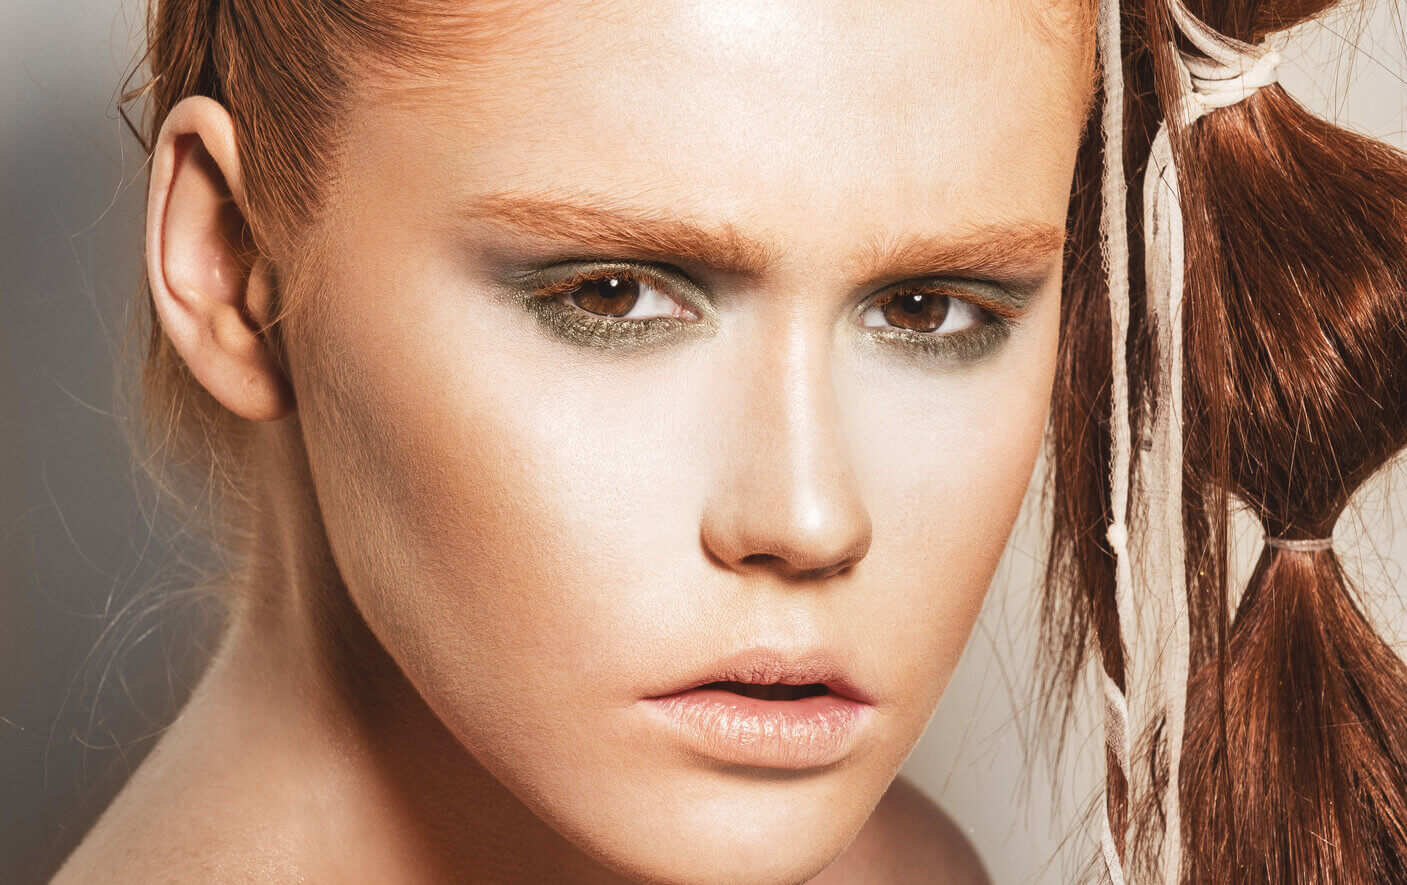
Money Piece Tendril Bubbles
Since most of the hair will be flowing freely for this style, you’ll want to fully perfect the hair before getting started. Once this is done, the decision of where to place the tendrils will emerge — but we love them laid out as a play on the money piece! Wherever they go, though, simply follow the steps above to create basic ponytail bubble braids.
Being so small, your sections may shrink significantly as you pull apart each bubble, so don’t be afraid to adjust the size of your sections when this happens!
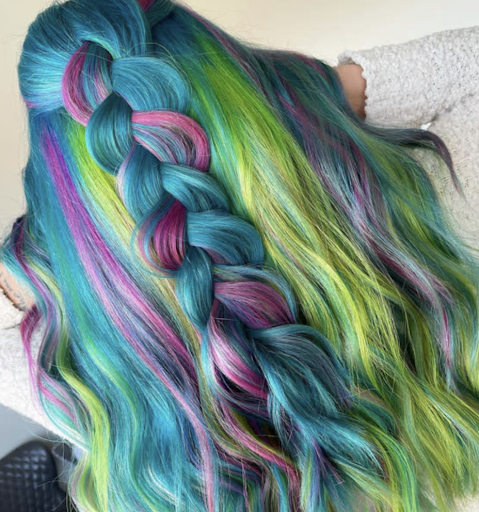
Boosting the Bubble Braid
No matter which style your client chooses, don’t be afraid to personalize it! Festival season is all about going for it, after all, so charms, clips, chunky barrettes, tinsels, glitters and colors are always welcome and can transform the look completely!
@shurveronika via Instagram powered by Squarelovin
@skylerrae.hair via Instagram powered by Squarelovin


Share Your Feedback